Creating eye-catching thumbnails is essential for attracting viewers to your YouTube videos. With Canva, you can easily design stunning thumbnails or covers that make your content stand out however, it can be overwhelming at first. In this guide, we’ll walk you through the steps to effectively use Canva for thumbnails or covers because it’s important for your YouTube videos.
Step 1: Create a Canva Account 🚀
To get started, go to canva.com and create a free account. If you already have an account, simply log in. Once logged in, you’ll be directed to your Canva dashboard.
Step 2: Select the YouTube Thumbnail Template 🎨
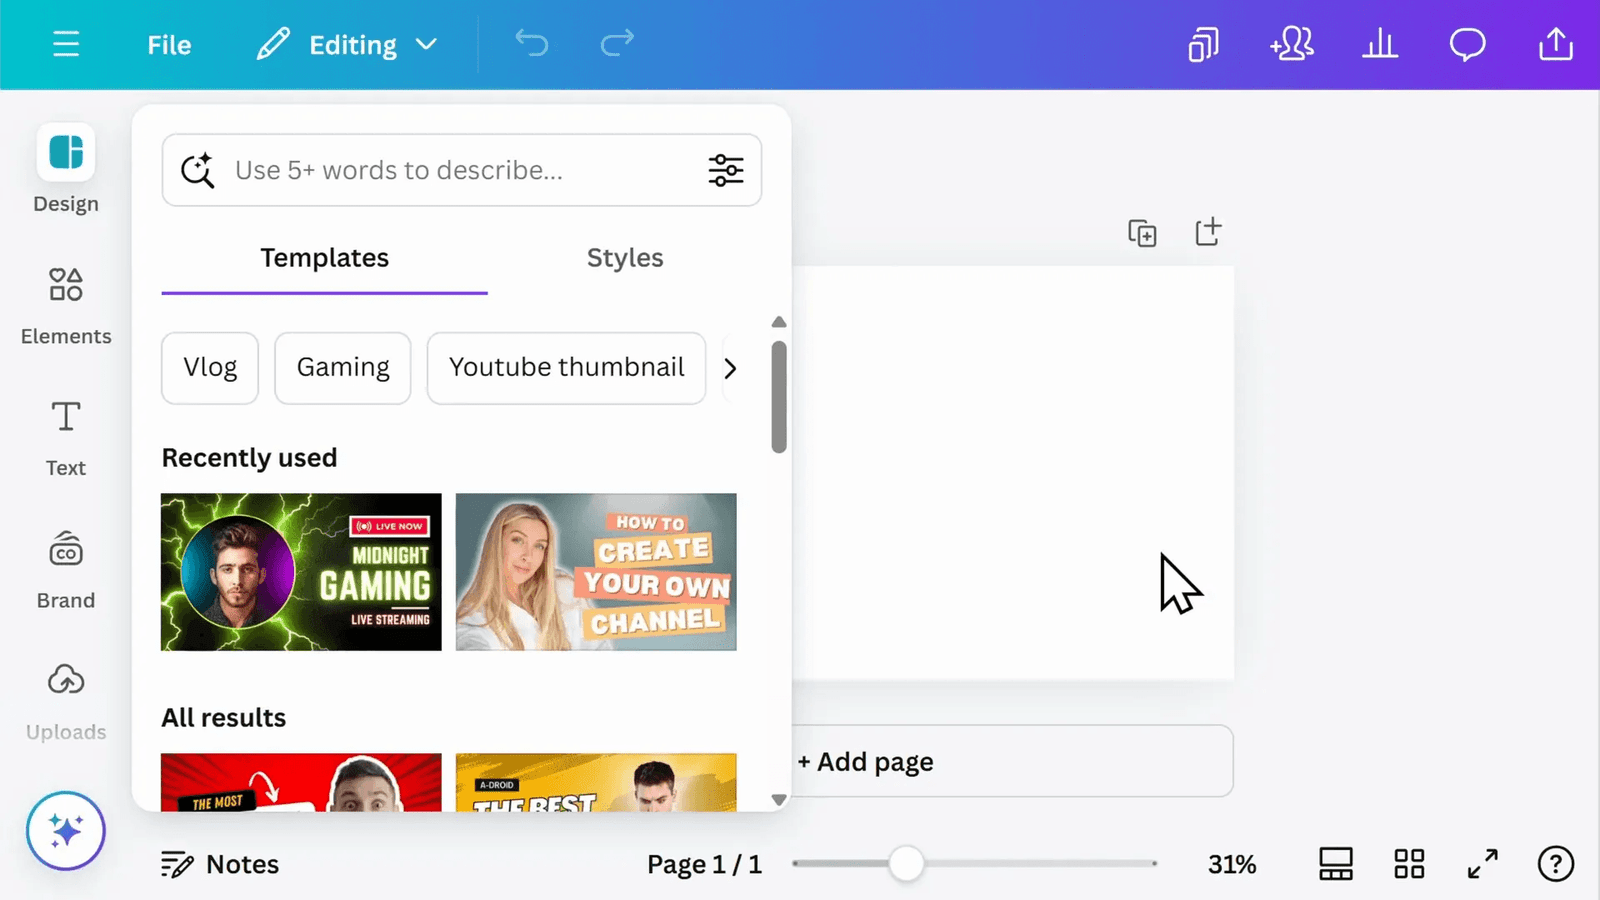
On your dashboard, click on the Create a Design button. Type in “YouTube Thumbnail” in the search bar, or find it in the suggestions. This will open a blank thumbnail in the correct dimensions: 1280 by 720 pixels.
Step 3: Browse and Choose a Template 🖌️
Canva a popular design tool will suggest various templates you can utilize. You can browse through different categories for instance or search by keywords related to your video content. Some templates may have a crown icon—this indicates that they require a Pro subscription; however, there are plenty of free options available. Although the Pro features are enticing, many users find satisfaction in the free offerings.
Step 4: Customize Your Text ✏️
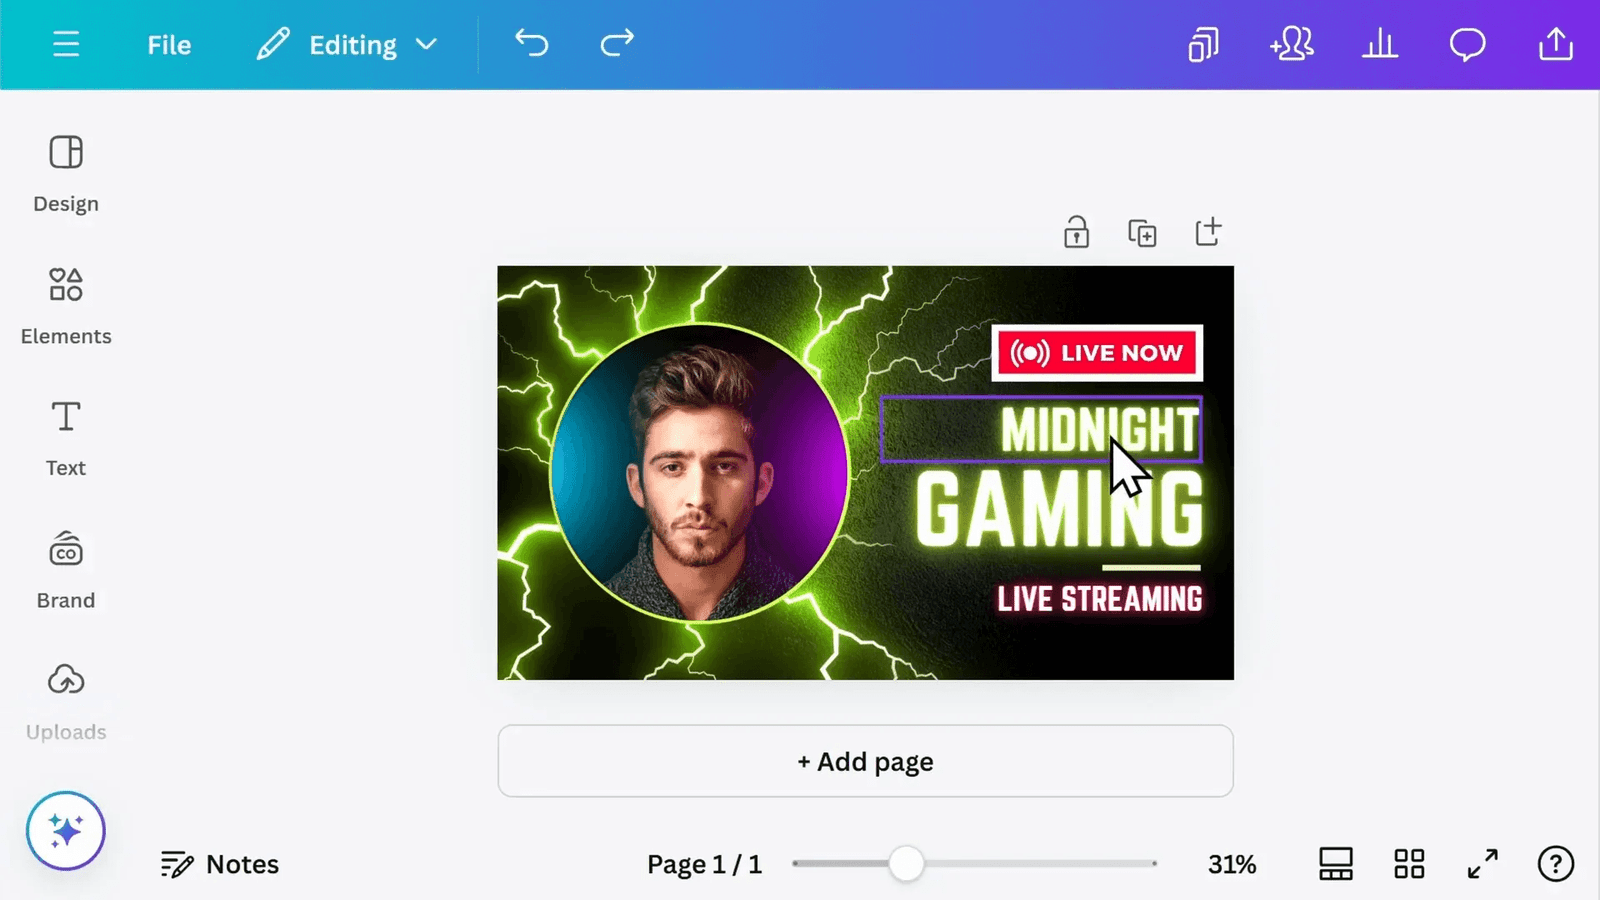
Click on any text in the template to bring up editing toolbar: here, you can change font type, size and color. If you want to apply a font style to all text, select paintbrush icon and click on additional text elements you wish to match. However, this process can be somewhat cumbersome, because it requires attention to detail. Although it may seem straightforward, users often overlook certain elements, which can lead to inconsistencies in the final product.
Step 5: Add Additional Text 📄
If you want to add more text, select the Text button on the left. You can then add a new text box and input your desired text. Remember to keep your text large and bold so that it stands out even at smaller sizes.
Step 6: Change Images or Backgrounds 🖼️
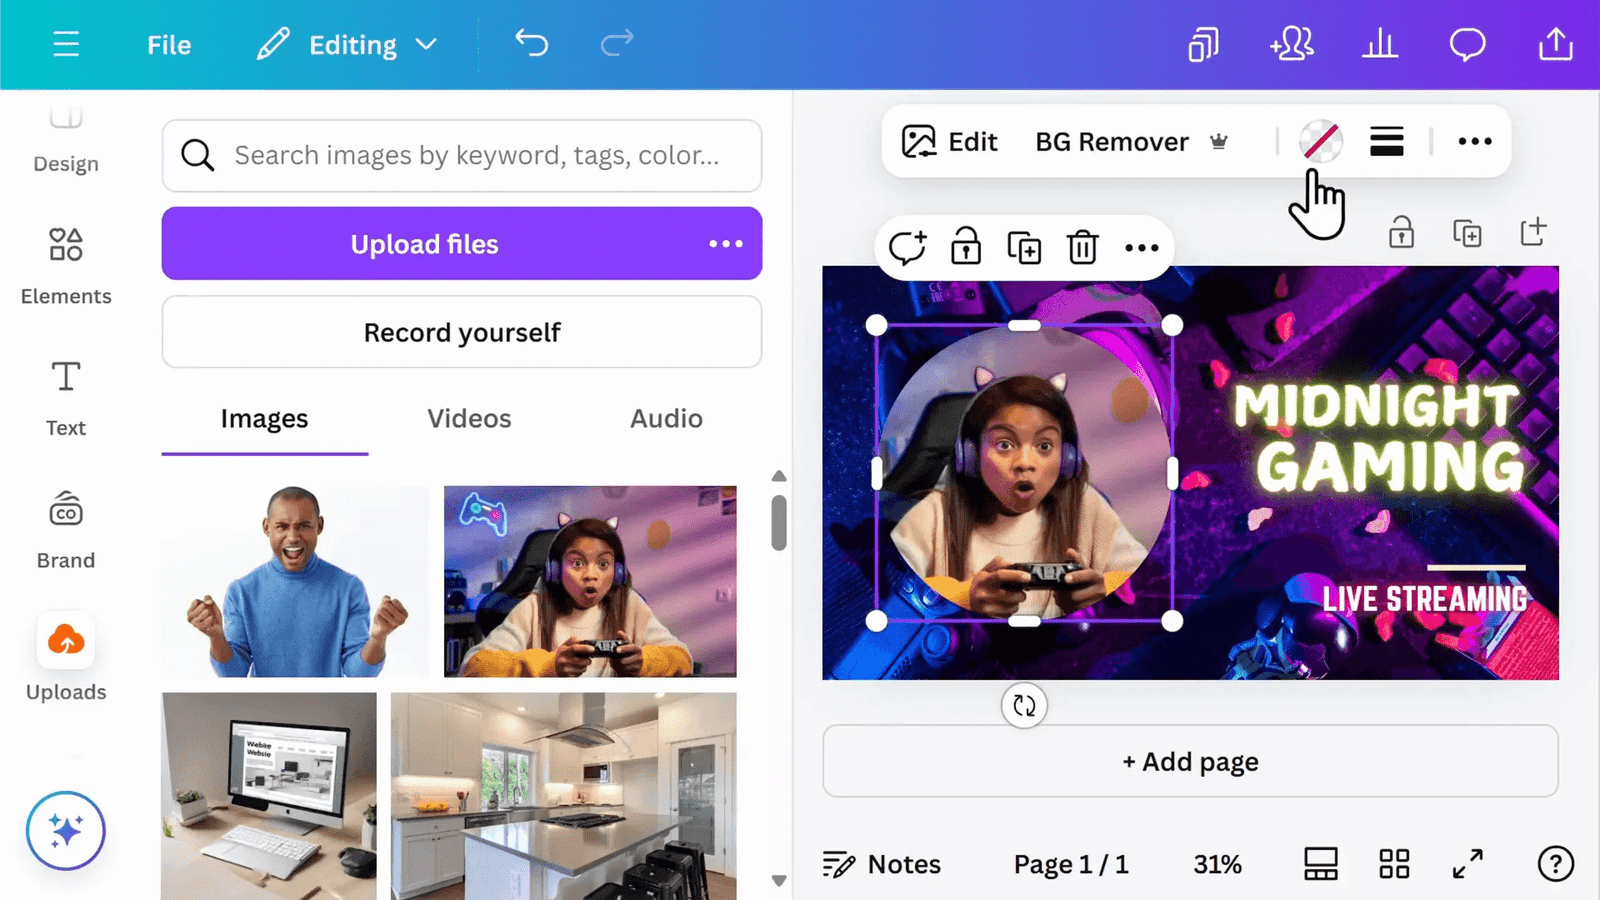
To change an image, select the existing image and search for new options under Elements. You can choose from graphics, photos, or upload your own images by clicking on the Uploads section on the left.
Step 7: Edit Your Images and Add Borders 🌈
Once you have your image, you can add borders and adjust colors to blend with the background. A popular trend is to upload a photo of yourself and remove the background for a more seamless look; however, this feature is available in the premium subscription. Although many enjoy this process, some may find it tedious because it requires attention to detail.
Step 8: Make Final Adjustments 👍
After editing your images, make final tweaks to ensure everything fits well together: adjust colors or reposition elements until you’re completely satisfied with your design. However, this process can be intricate and time-consuming. Although some may rush, it’s essential to take the time needed, because quality matters.
Step 9: Download Your Thumbnail 🖥️
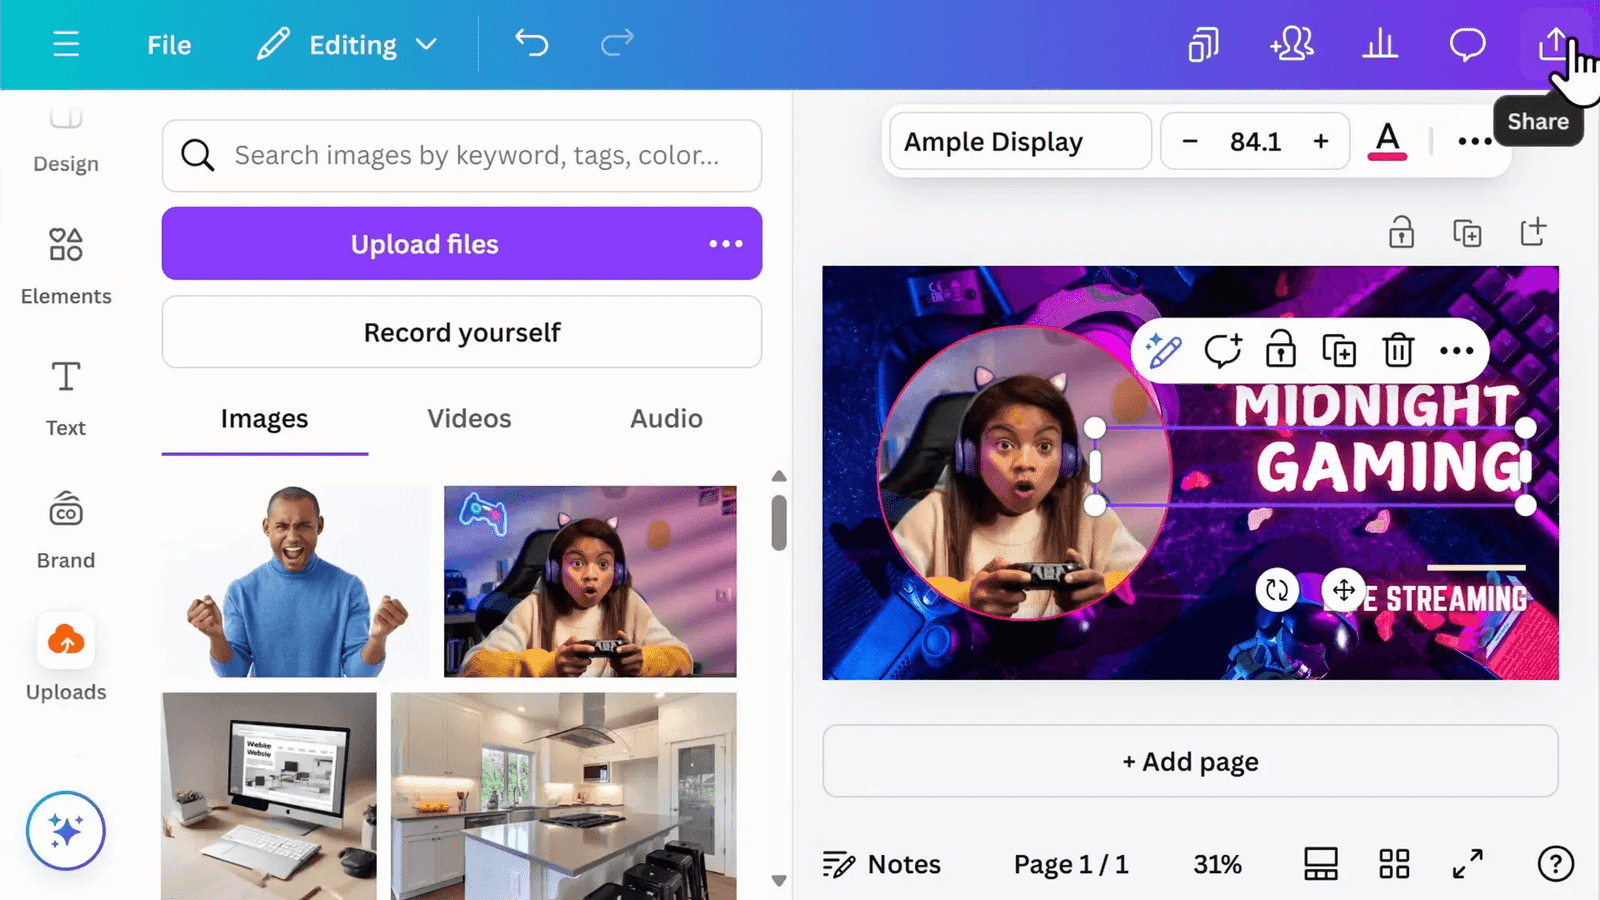
To download your thumbnail, click the up arrow share button in the top right corner, select Download, and choose the PNG format for best quality. Once downloaded, your thumbnail is ready to be uploaded to YouTube!
Step 10: Upload Your Thumbnail to YouTube 📤
Once you have your eye-catching thumbnail ready, head over to your YouTube channel and upload it alongside your video. This can help draw in viewers, but remember that engaging video content is key. An appealing thumbnail alone won’t ensure success, but if the video resonates with the audience, the click-through rate can see a significant boost.
To achieve this, using tools like Canva, known as the best YouTube thumbnail creator, can make the process of designing YouTube video thumbnails straightforward and effective. Whether you’re focusing on gaming, cooking, or any other niche, Canva is ideal for creating professional-looking thumbnails. It’s a great DIY YouTube thumbnail Canva solution that is for making YouTube content stand out. Start today to enhance your video presentations—it’s essential for success!
P.S. If you’re looking for a tool similar to Canva but with a unique twist, I have great news! There’s a lifetime deal available on Plasfy—a powerful design platform at an incredibly low price. This tool offers all the features you need to create stunning thumbnails and more. Don’t miss out on this limited-time offer—click here to learn more about Plasfy and start creating your designs!
CreateStudio | ClipMagic | PhotoVibrance | MediaPlace | Twinkle


