

In this guide, we’ll explore how to edit images in Create Studio templates. By the end, you’ll have the skills to customize templates to suit your specific needs and enhance your video projects.
✨ Introduction to Create Studio
CreateStudio is a powerful tool designed for video creators looking to elevate their projects through customizable templates. With a user-friendly interface, it empowers users to craft unique videos efficiently. Whether you’re a beginner or a seasoned professional, Create Studio offers features that cater to all skill levels.
This platform stands out because of its extensive library of templates that can be tailored to fit various niches. By utilizing these templates, you can save time and focus on the creative aspects of your projects. The process of creating studio templates has never been easier!
🎨 Overview of Create Studio Templates Customization
Template customization in Create Studio involves several steps, allowing you to adapt existing templates to reflect your brand or style accurately. Users can replace images, modify text, and adjust layouts with ease. This flexibility is essential for creating professional-looking videos that resonate with your audience.
Moreover, the platform allows for advanced adjustments, such as changing aspect ratios and applying effects. This means you can create studio templates that not only look great but also fit perfectly into your desired format.
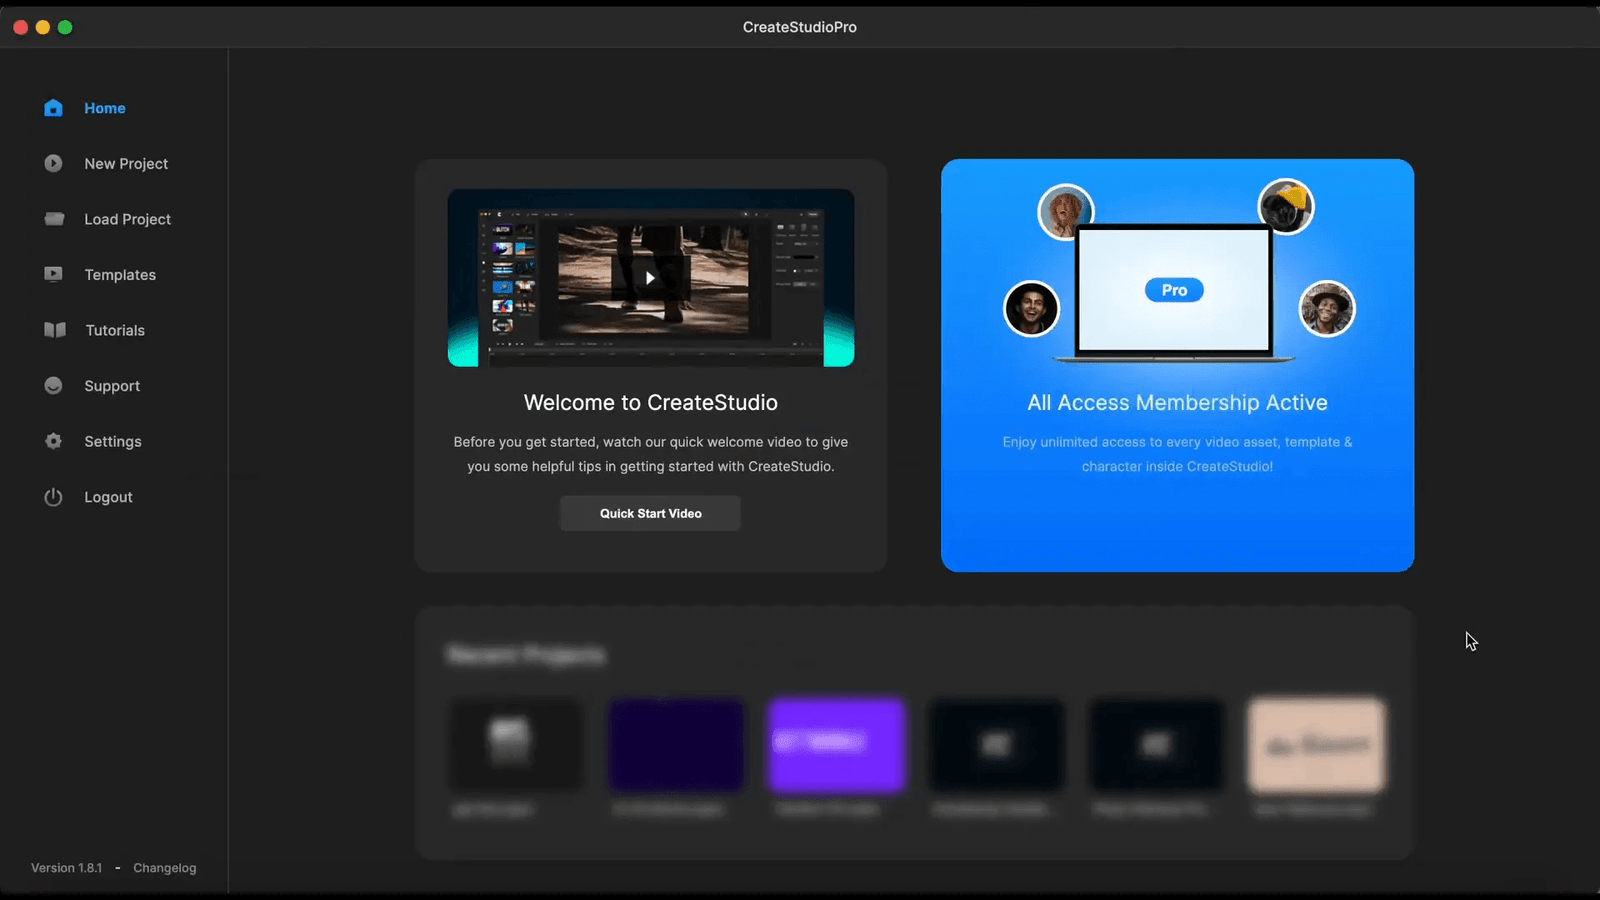
🏠 Navigating the Home Page
The home page of Create Studio serves as your launchpad. Upon opening the application, you’ll notice a clean layout with a left-side panel that features various options. The templates section is prominently displayed, making it easy to access the vast library of designs available to you.
At the top of the home page, you’ll find the search bar, enabling you to quickly locate specific templates by entering relevant keywords. This is particularly useful when you’re looking for something tailored to a niche or theme.
📂 Exploring the Templates Section
The templates section is where the magic happens. Inside this area, you’ll find a categorized menu that allows you to browse templates based on different themes or styles. From local businesses to creative portfolios, the selection is extensive.
As you explore, keep an eye on the template previews. These give you a glimpse of how your final video could look, helping you make informed choices. With hundreds of templates available, there’s something for every project!
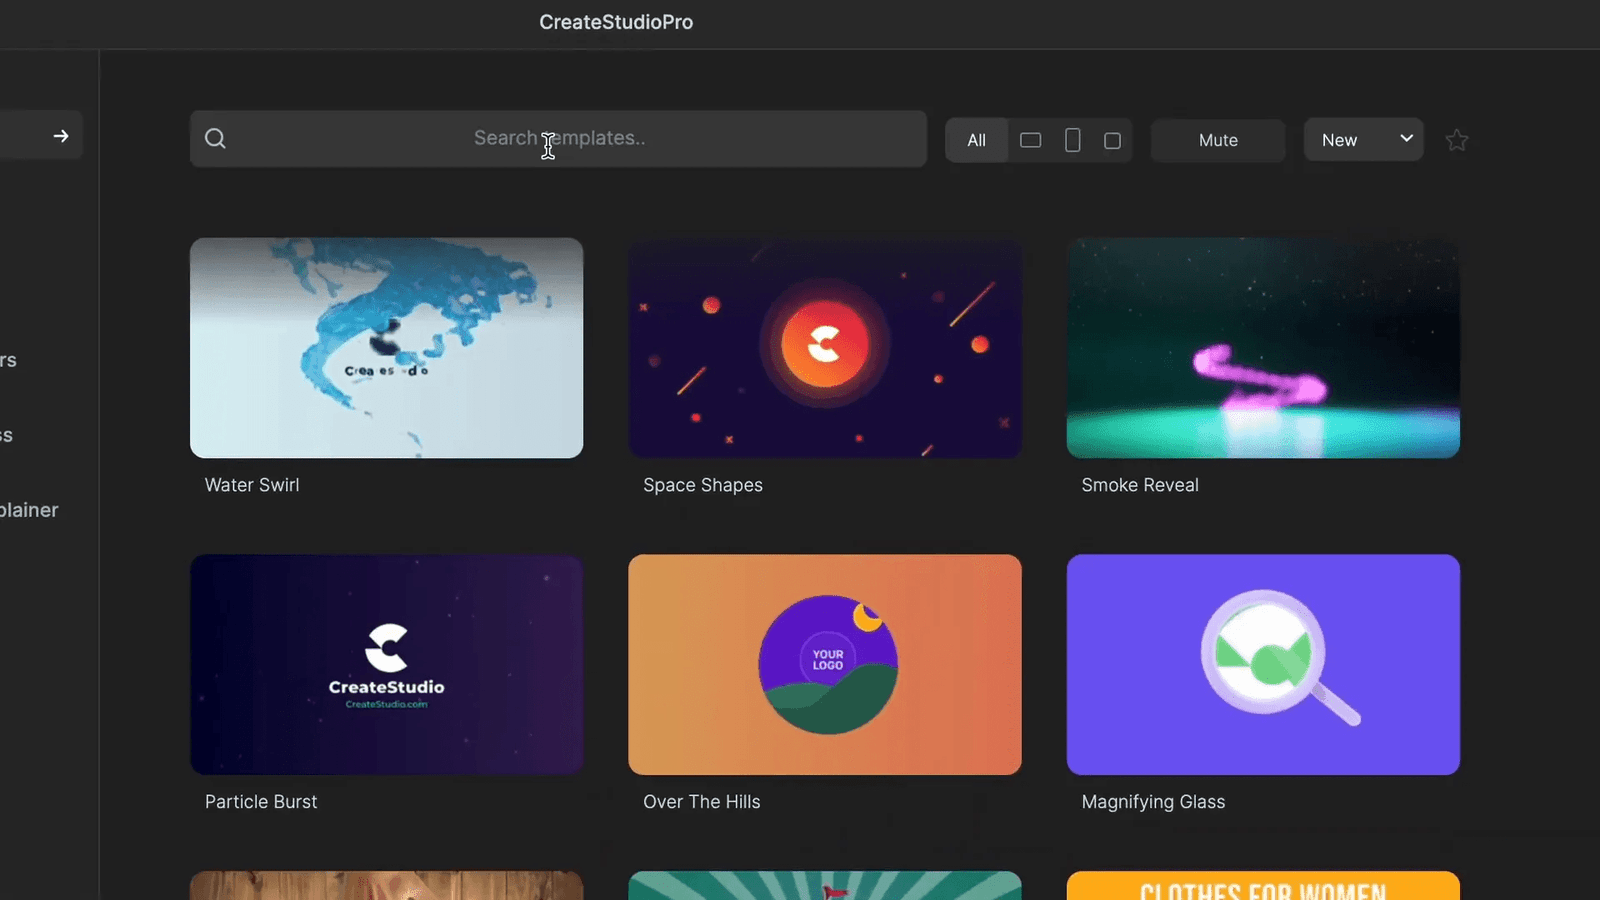
🔍 Searching for Templates
Searching for templates is straightforward. Utilize the search bar located at the top of the templates section. By typing in specific keywords related to your project, you can filter through the available options quickly.
This feature is a game-changer for users who have a clear vision of what they want. Instead of scrolling through countless templates, you can pinpoint exactly what you need in seconds.

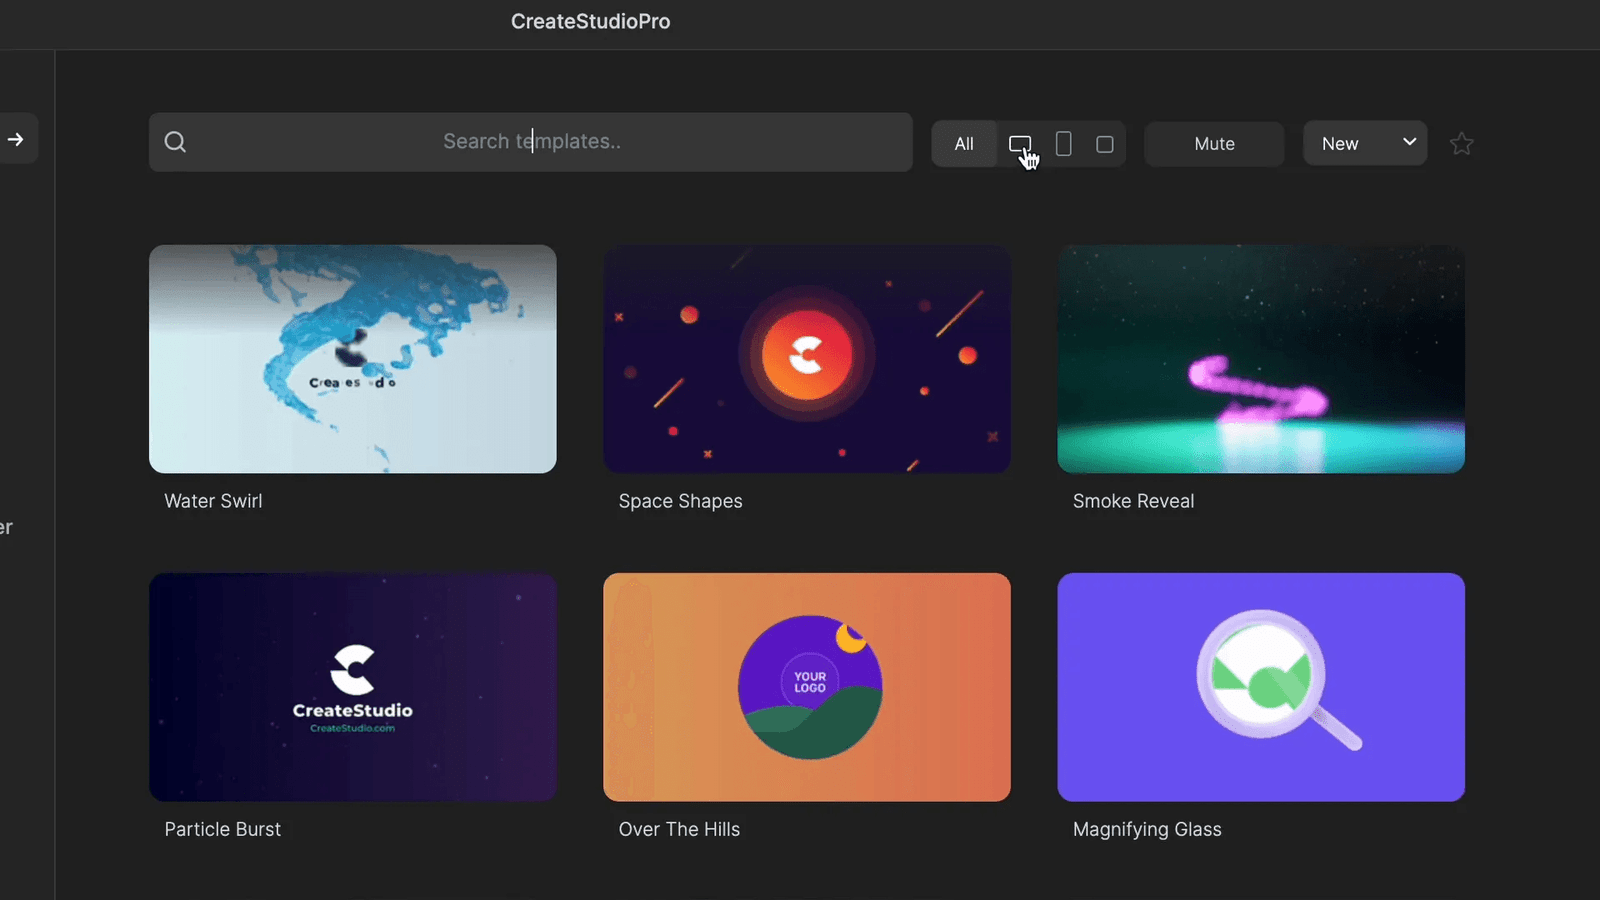
📏 Sorting Templates by Aspect Ratio
Another useful feature in Create Studio is the ability to sort templates by aspect ratio. This is crucial for ensuring that your videos are compatible with various platforms, whether you’re creating for social media, websites, or presentations.
By selecting the desired aspect ratio, you can streamline your workflow and focus on templates that will work best for your intended output. This feature enhances the customization process and helps maintain visual consistency across different mediums.
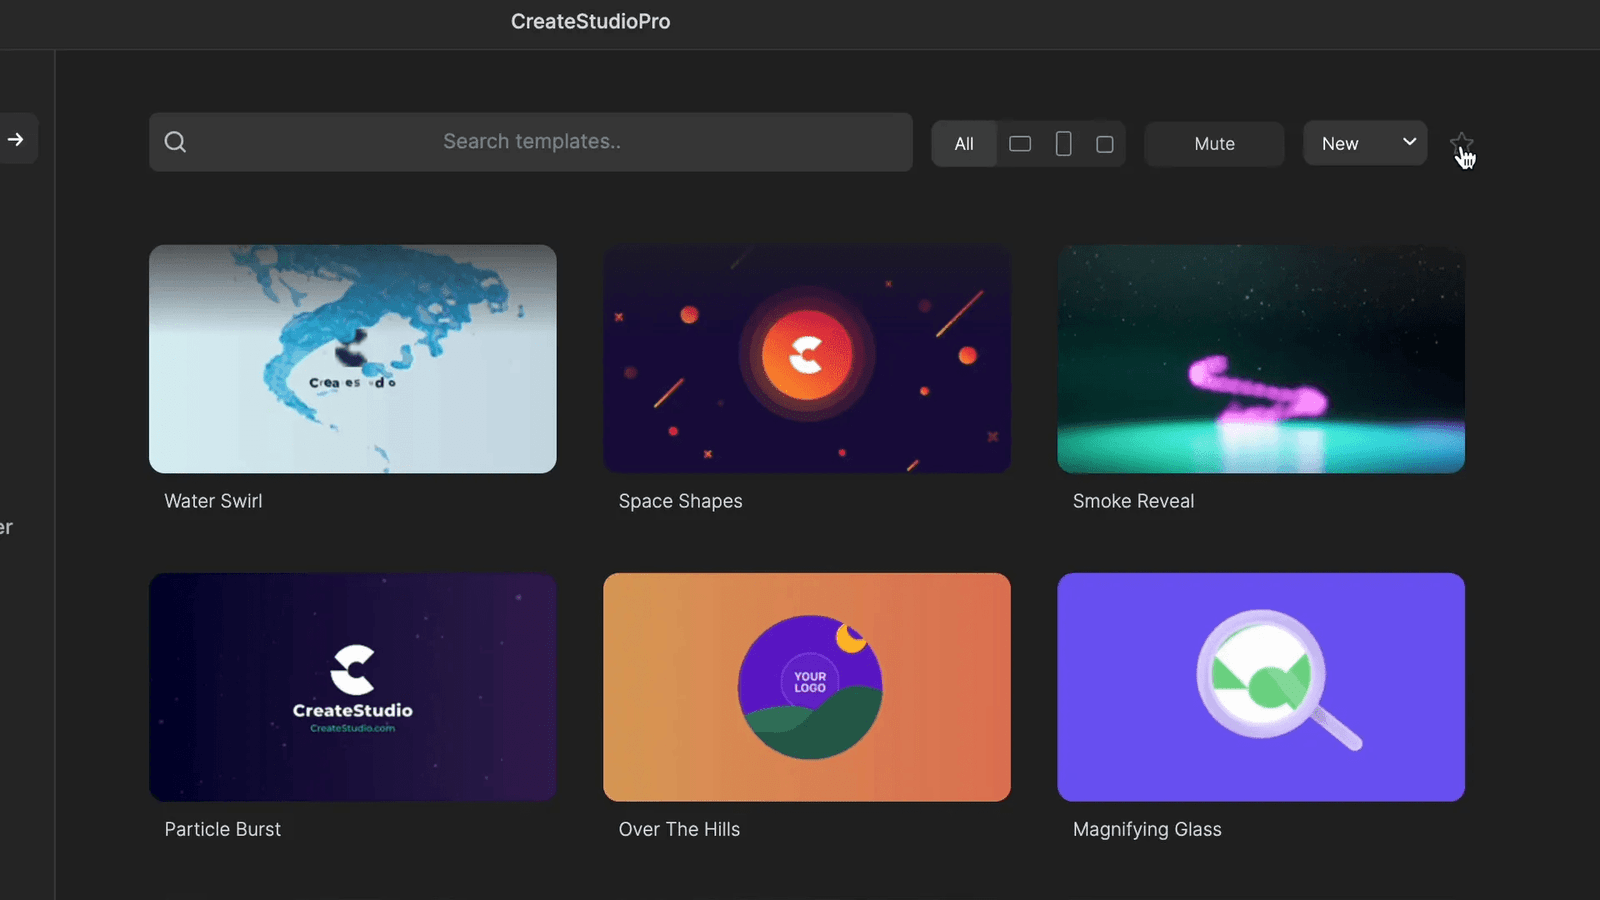
⭐ Favorite and Filtering Templates
Create Studio allows you to favorite templates, making it easier to find them later. When you come across a design that resonates with your vision, simply click the star icon to save it to your favorites.
Additionally, you can filter your view to only see your favorite templates. This feature is especially handy when you’re working on multiple projects and need quick access to your preferred designs.
📊 Template Availability and Access Plans
When you dive into Create Studio, understanding template availability is key. The platform offers a variety of templates categorized by different themes and styles. However, access varies based on your subscription plan.
If you’re on the standard plan, you’ll find a limited selection of templates available for customization. In contrast, All-Access Pass members enjoy the full library of over five hundred templates. This includes new additions released monthly, ensuring you always have fresh options for your projects.

📝 Choosing the Right Template
Selecting the ideal template is crucial for your project’s success. Start by identifying your project’s theme or message. Are you aiming for a corporate look, or something more creative and vibrant? Narrowing down your choices based on your objectives will save you time.
Once you have a clear vision, utilize the category classification menu to browse templates that align with your needs. Pay attention to the duration and aspect ratio of the templates to ensure they fit your project requirements.

🎨 Customizing the Template
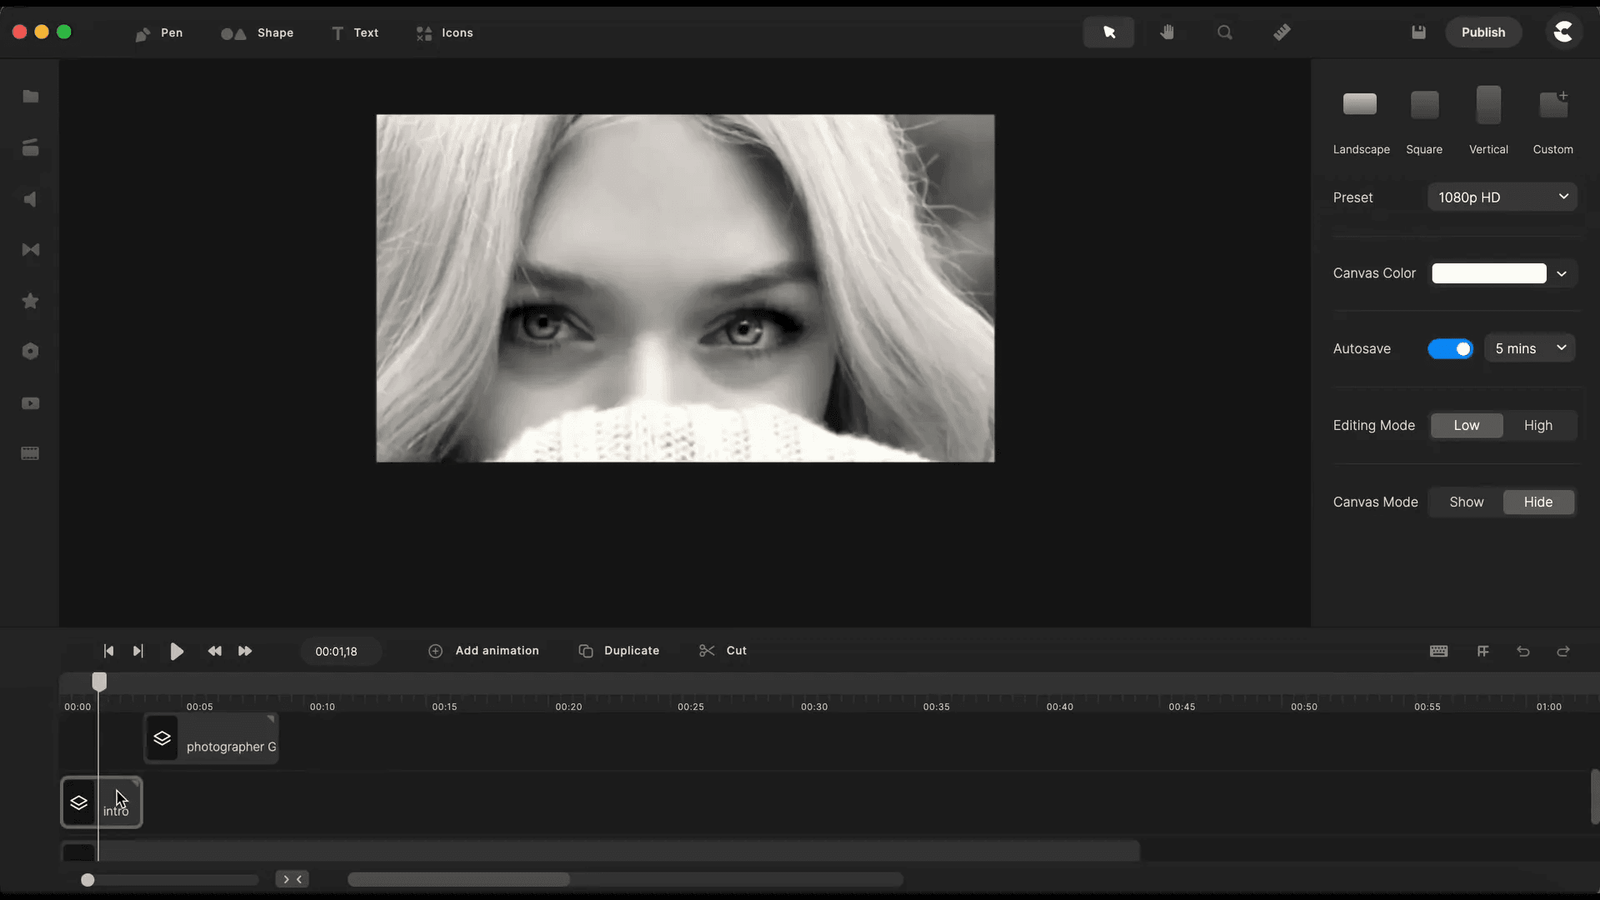
Customizing your template in Create Studio is an intuitive process. After selecting a template, click on ‘Use this template’ to import all necessary assets into your project timeline. Your first step will be to select a scene group to access the Quick Action Container, where all elements within that group are displayed.
From here, you can replace images, modify text, and adjust layouts to suit your brand. Remember, effective customization often requires attention to detail, especially when it comes to image positioning and scaling.
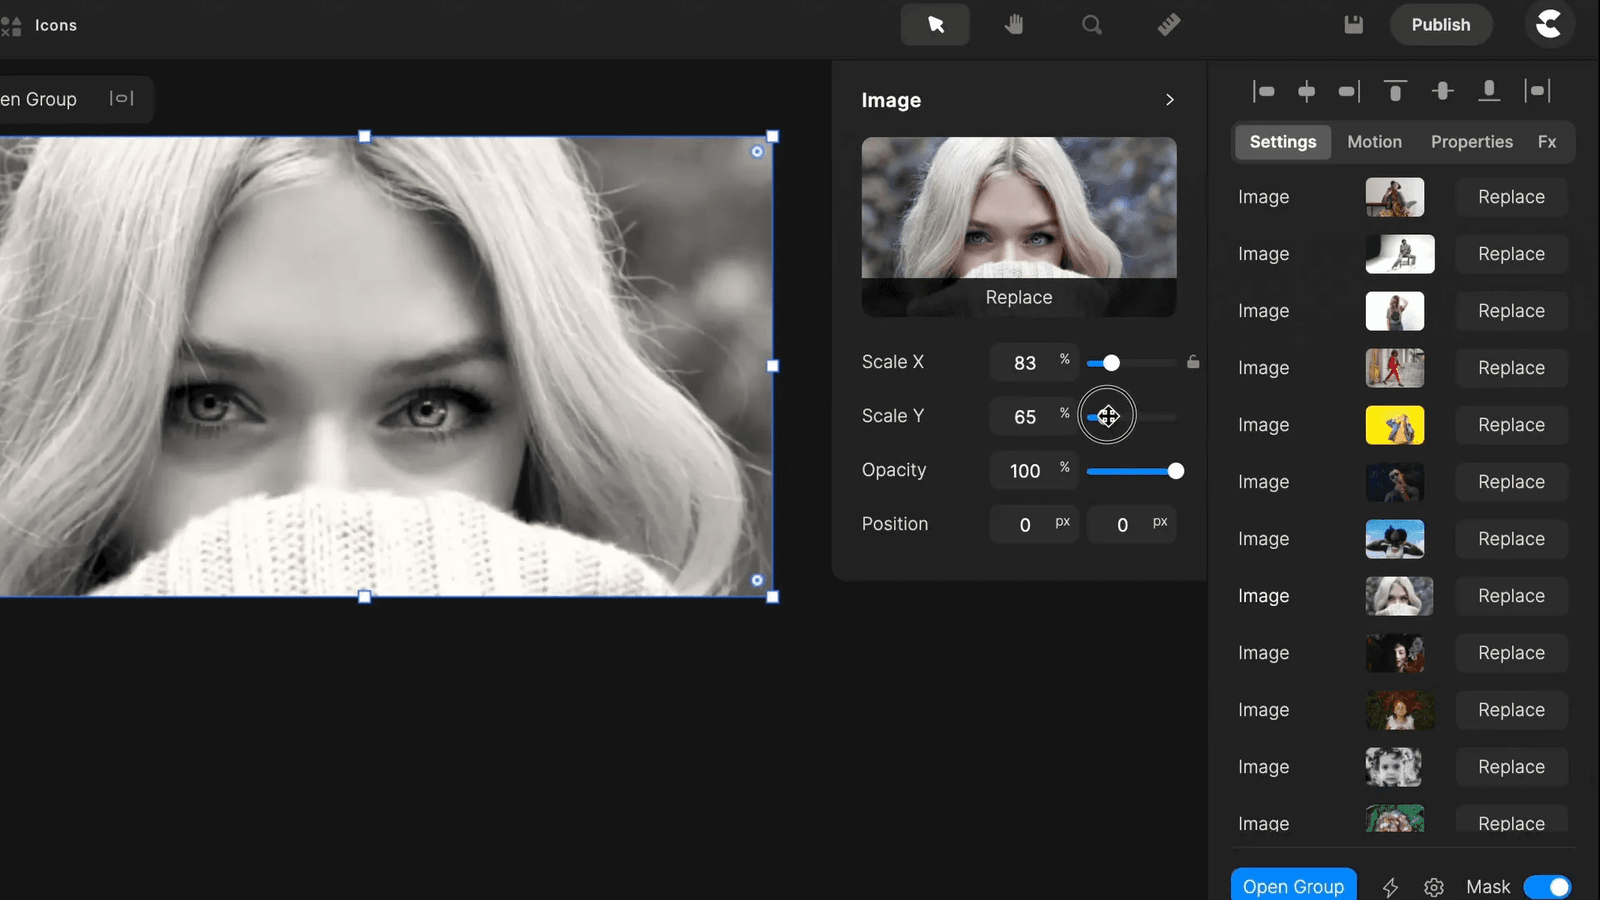
⚙️ Using the Quick Action Container
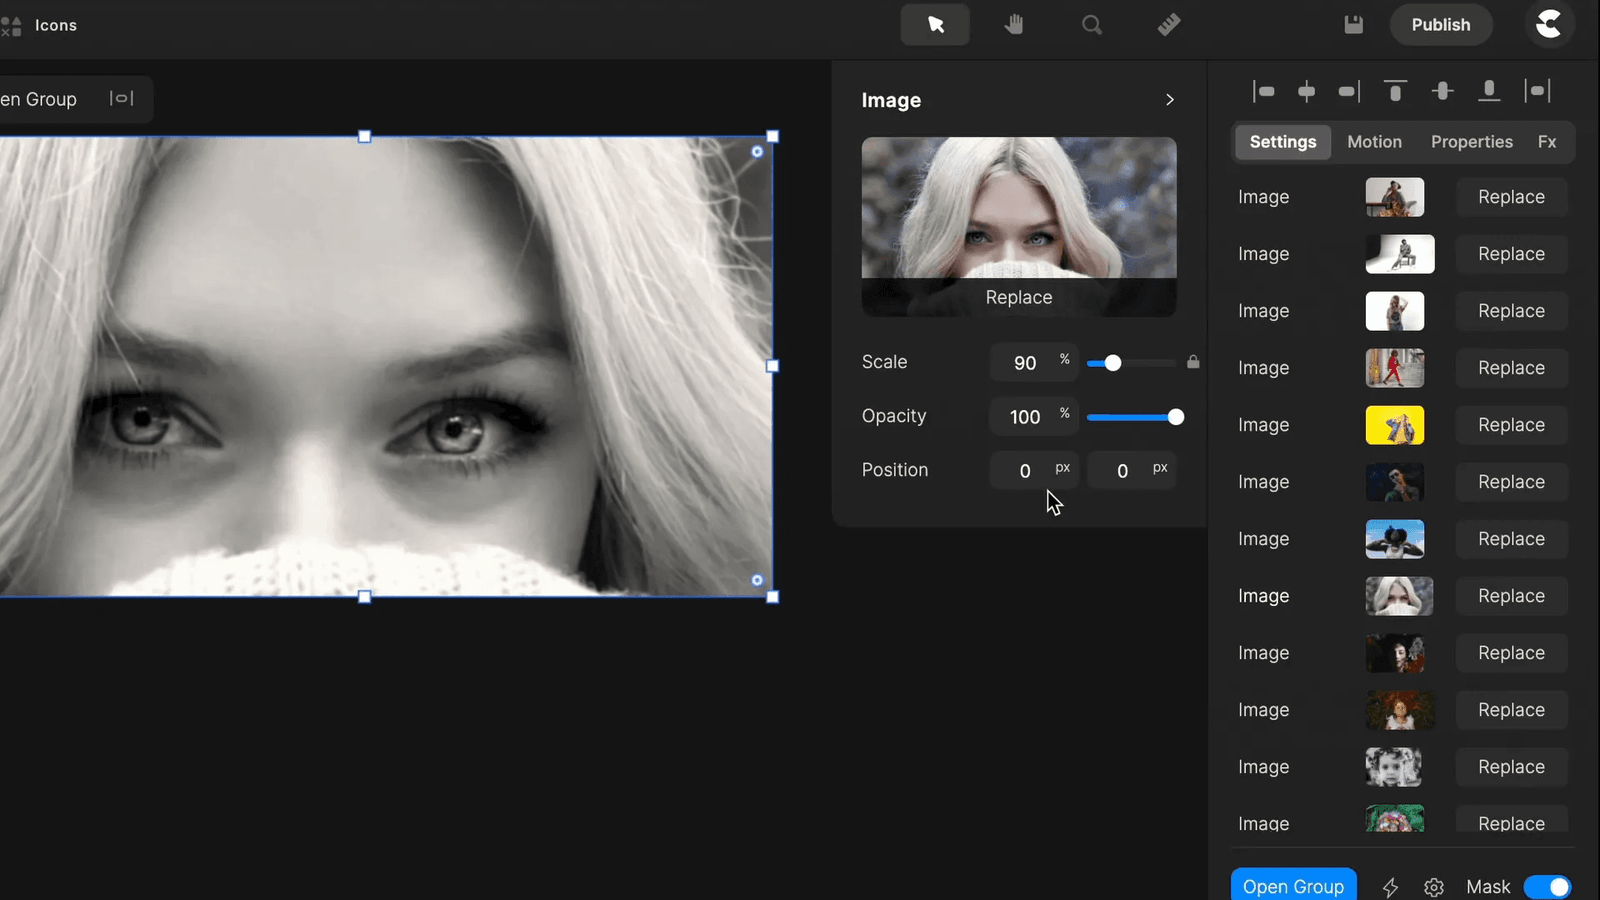
The Quick Action Container is a powerful feature that enhances your editing efficiency. Once you’ve selected a scene group, this panel appears, allowing you to view all elements contained in that group.
Each image will have a replace button next to it, making it easy to swap out visuals. Additionally, you can adjust image opacity and scale from this container, streamlining your workflow significantly.

🖼️ Adjusting Image Properties
After replacing images, you may need to fine-tune their properties for optimal presentation. Click on the image to access the image settings panel, where you can modify opacity, scale, and position values.
This step is particularly important for ensuring that your images fit seamlessly within the design. You may also need to unlock the X and Y scale to make precise adjustments.
📥 Importing Your Own Media
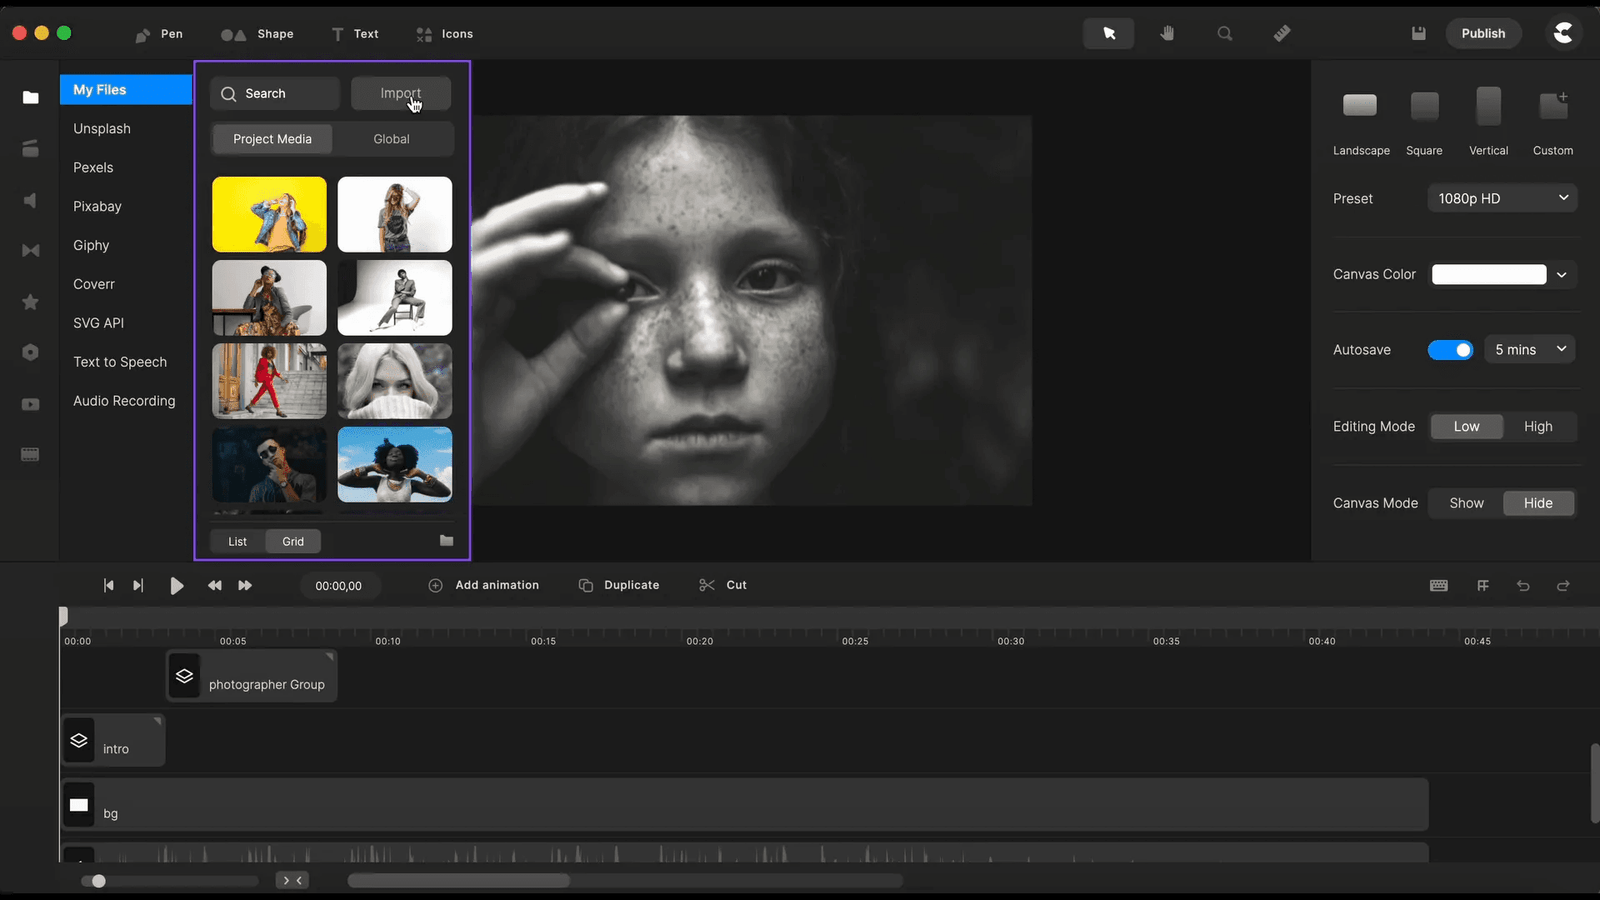
To make your project truly unique, importing your own media is essential. Create a new folder in the media library to organize your images effectively. This keeps your workspace tidy and allows for easy access to your imported files.
Once your folder is set, you can drag and drop images directly into your project. This flexibility empowers you to customize templates further by incorporating your brand’s visuals.
🔄 Replacing Images in the Template
Replacing images in your template is straightforward. Simply click the replace button next to the image you wish to change, navigate through your media library, and select the new image.
For best results, ensure that your new images align with the aspect ratios of the original images. This may require you to adjust the image properties or even the group boundaries to maintain visual consistency.

📏 Final Adjustments for a Polished Look
After replacing images, it’s crucial to make final adjustments for a polished appearance. This includes checking the alignment of images, ensuring text is readable, and verifying that all visual elements are cohesive.
Don’t hesitate to experiment with different filters or effects to enhance your images further. Create Studio offers various options that can elevate the overall aesthetic of your project.
🖼️ Removing Backgrounds from Images
One of the standout features of Create Studio is the ability to remove backgrounds from images seamlessly. This is particularly useful when you want to integrate images with transparent backgrounds into your templates.
To remove a background, select the image you wish to modify. Right-click on it and choose the “Remove Background” option. This feature utilizes an external service that allows for one-click background removal, making the process efficient and user-friendly.
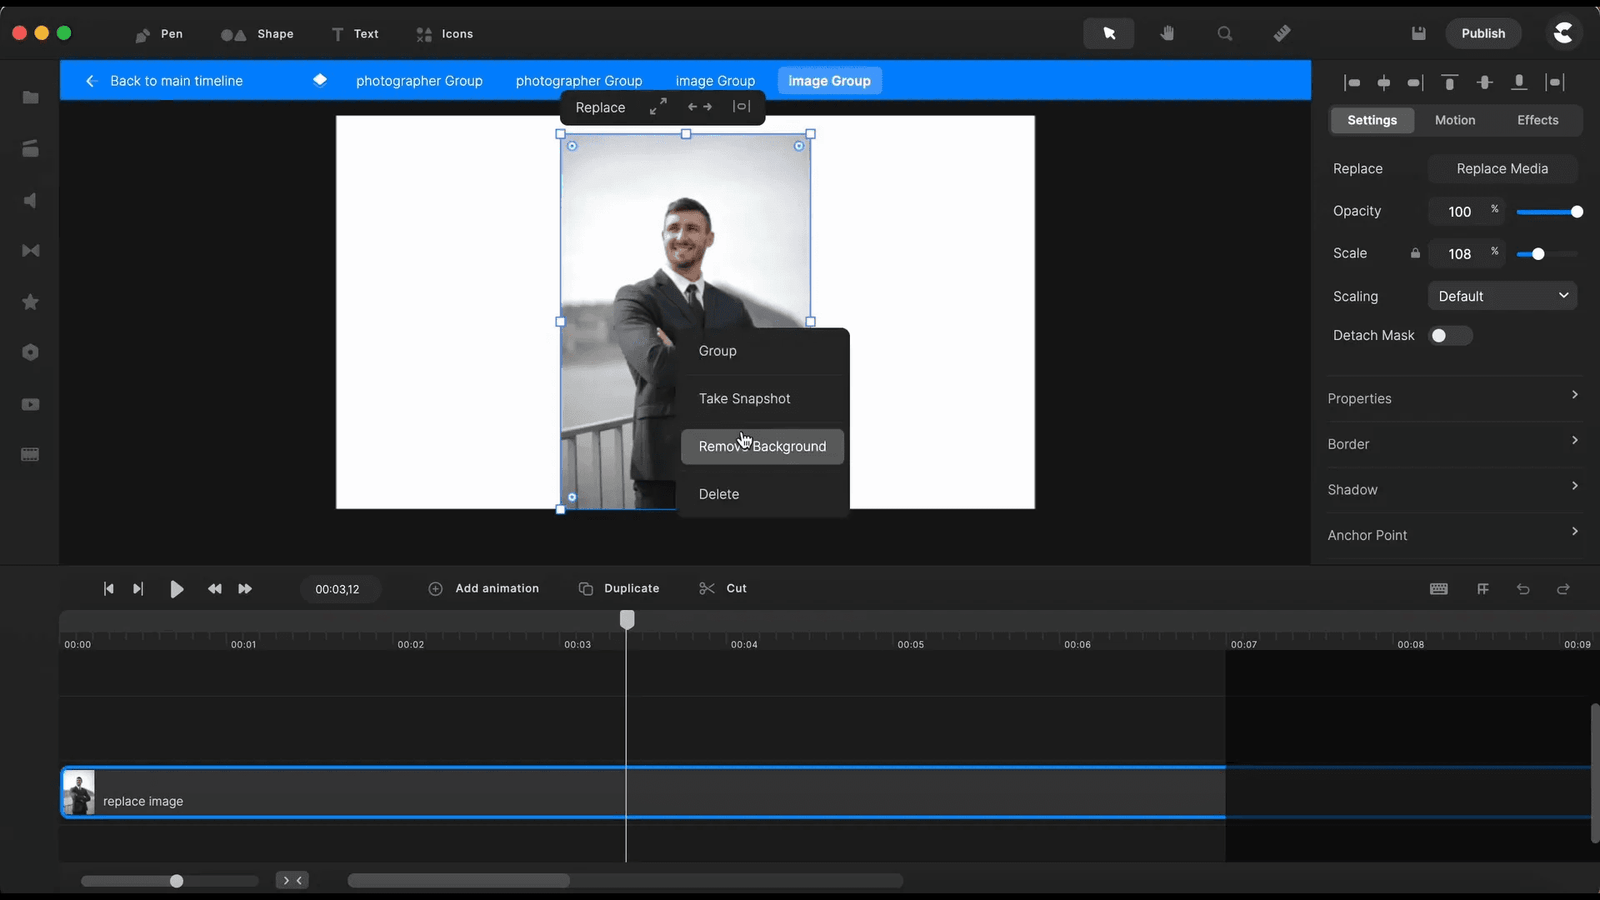
Keep in mind that this feature is included in the All-Access Pass, offering twenty removals per month. For those on a standard plan, credits can be purchased for additional background removals. This flexibility ensures that all users can benefit from this powerful tool.
⚙️ Making Further Adjustments
After removing the background, you might want to make additional adjustments to ensure the image fits perfectly within your template. Begin by selecting the image and accessing the image settings panel.
Here, you can adjust opacity, scale, and position values as needed. Unlocking the X and Y scale allows for more precise modifications. These adjustments are crucial for maintaining visual harmony within your design.
🛠️ Editing Image Masks and Group Boundaries
Editing image masks and group boundaries is essential for achieving the desired look in your templates. When you need to fit a new image into a specific space, start by double-clicking the image to edit its mask.
This allows you to resize the mask to match the image. Once the mask is adjusted, you can then edit the group boundaries to ensure everything aligns correctly. This two-step process guarantees that your images appear as intended without any awkward cropping or misalignment.

✨ Applying Effects to Images
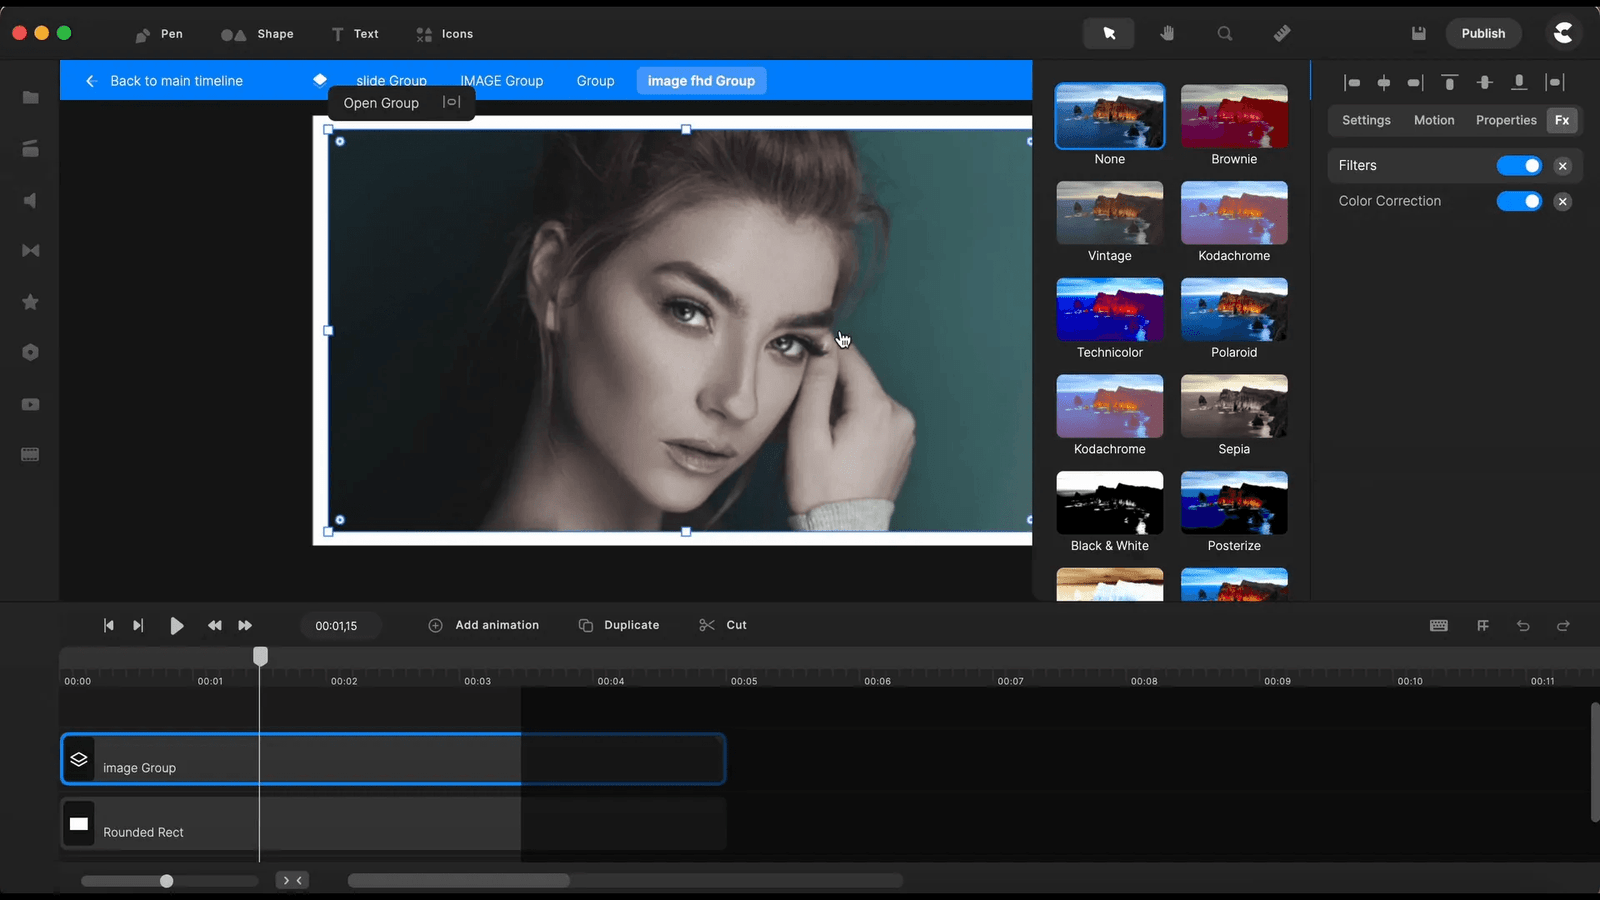
To enhance your images further, Create Studio offers a variety of effects that can be applied to individual images or groups. This feature is particularly useful for establishing a cohesive aesthetic across your project.
Access the effects panel by selecting the image or group you want to modify. You can choose from filters, color corrections, and more. Experiment with different effects to see how they transform your images and elevate the overall look of your template.

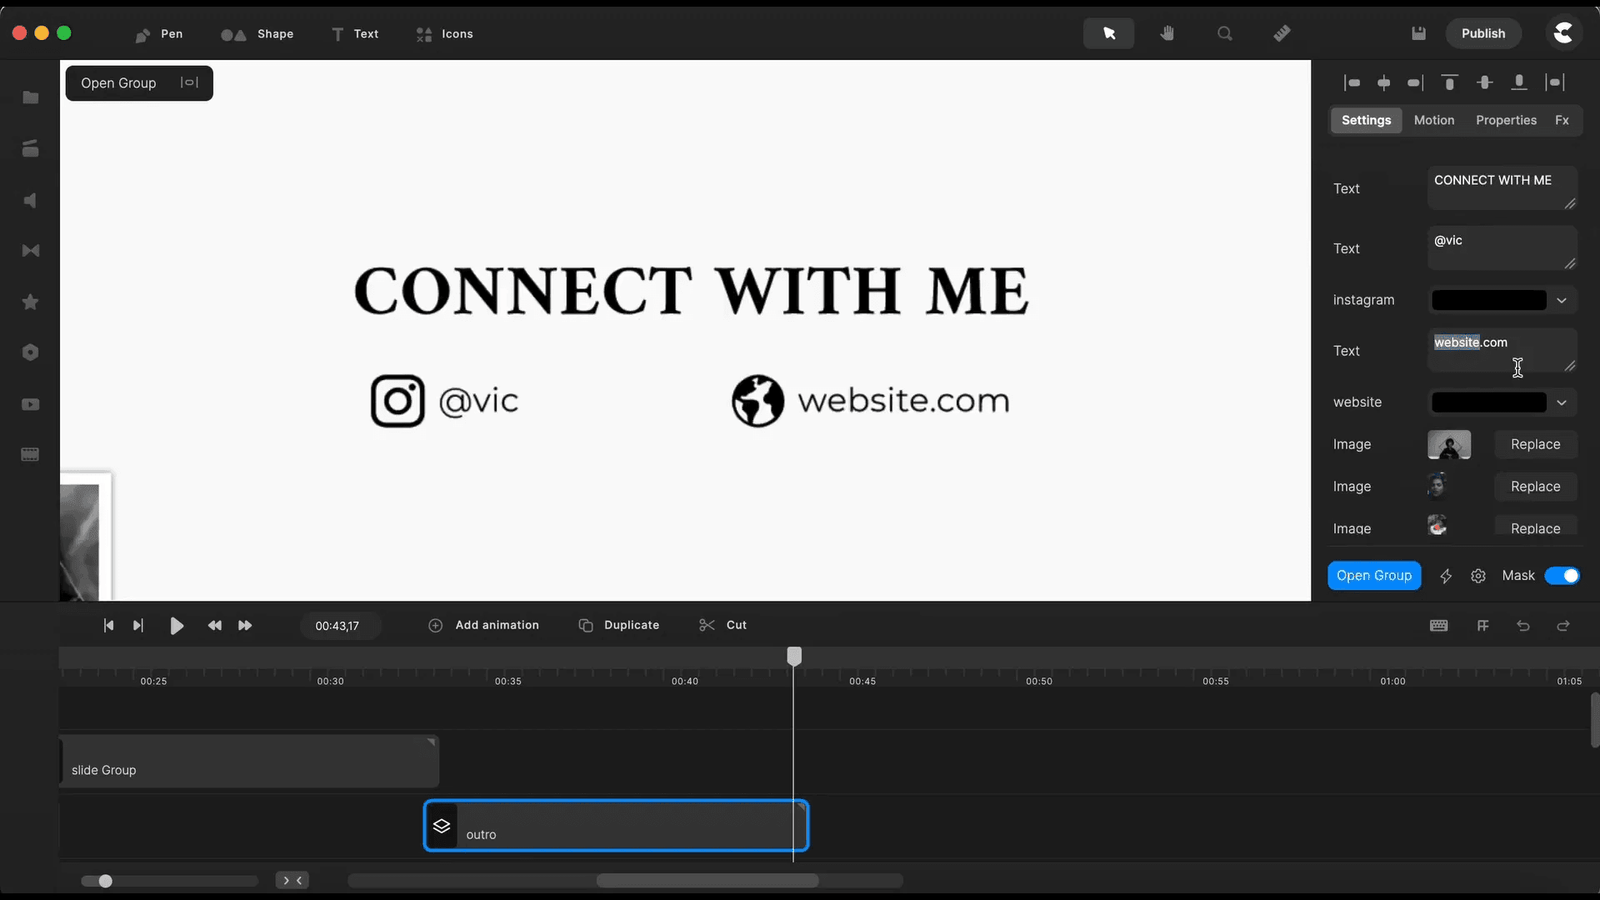
🖊️ Editing Text in the Template
Text editing is a straightforward yet impactful part of customizing your studio templates. To change the text, simply click on the text box within your template and type in your desired content.
Adjust the font, size, and color using the text settings panel to align with your branding or project theme. Ensuring your text is legible and visually appealing is crucial for conveying your message effectively.
👀 Video Tutorial on How To Replace Images
📈 Conclusion and Next Steps
Creating and customizing studio templates in Create Studio can significantly enhance your video projects. By understanding how to replace images, remove backgrounds, and apply effects, you can create studio templates that resonate with your audience.
As you become more familiar with these features, consider exploring advanced options like group boundaries and text customization to refine your projects further. The more you practice, the more proficient you’ll become in using Create Studio.

❓ FAQ
- Can I remove the background from any image?
Yes, as long as you have the appropriate plan or credits available, you can remove backgrounds from your images. - How can I ensure my images fit well within the template?
Make sure to edit both the image masks and group boundaries to achieve the best fit. - Are effects customizable for individual images?
Absolutely! You can apply and adjust effects for each image or group to suit your project needs. - What if I want to change the font of the text?
Simply select the text box and use the text settings panel to choose a new font, size, and color.
